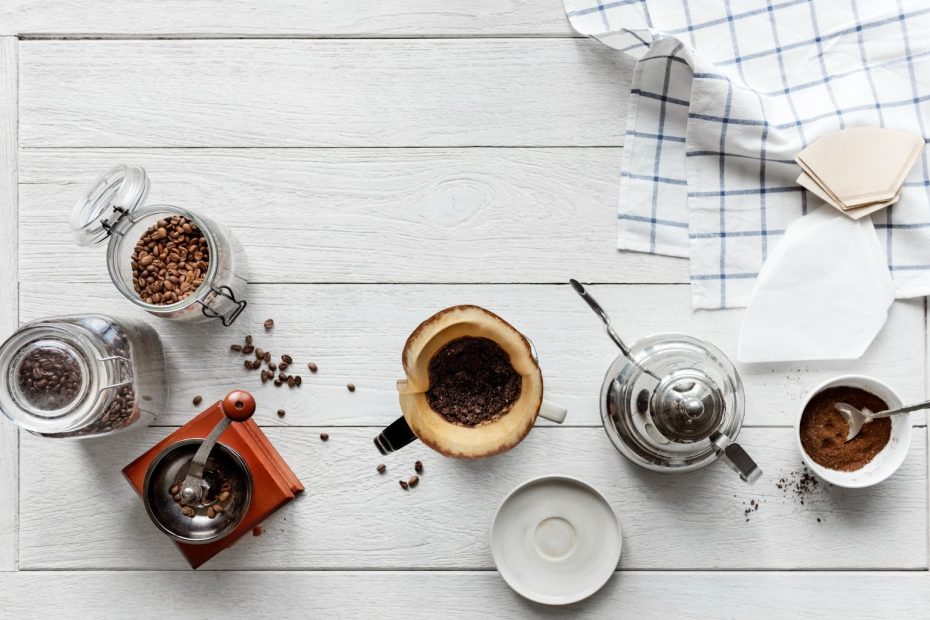
Many coffee enthusiasts enjoy pour-over coffee with its art of hand-pouring the water over the coffee, and you might be one of them too.
Pour-over coffee is quite meditative. As you need to focus on pouring the water on the coffee grounds, the gradual flow will leave you feeling relaxed and calm. Such a peaceful moment in the morning will be very powerful, because it can make your entire day better even before it starts.
So, in our article here, we hope to answer most of your questions about pour-over coffee. Then, you can have a peaceful time soon when preparing a cup of pour-over coffee with a taste that you like.

Contents
What is Pour Over Coffee?
When you see a barista slowly and persistently pouring hot water over coffee grounds in a circle, you might wonder what makes pour-over coffee different. In fact, it’s about the methods and unique taste buds of this coffee type.
Pour-over coffee brewing is a method in which hot water is directly “poured over” the fresh coffee grounds. Coffee lovers favor this coffee because it gives them more choices in flavor and taste than other coffee-making techniques.
Before getting to the recipe, we’ll share with you the necessary equipment and brewing steps, so you’ll get a complete guide to getting started with pour-over coffee brewing at your home right away.
How to Make Pour Over Coffee?
What Equipment Pour Over Coffee Needs?
First thing first, let’s get ready with the important tools to make pour-over coffee. Overall, you can’t begin making one if you miss these tools, right?
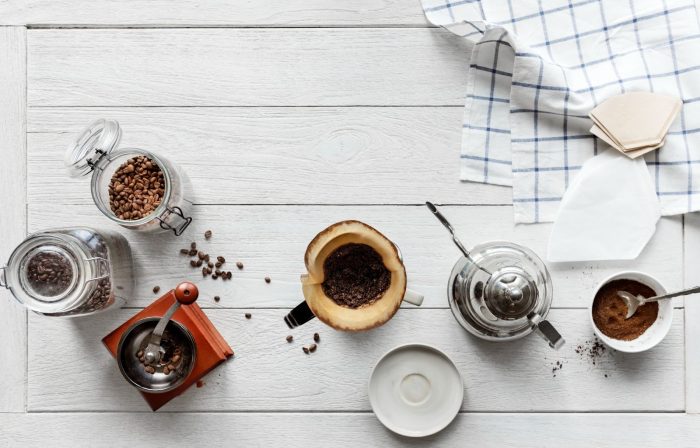
So, here are the list of equipments for pour over coffee:
- A decent pour-over coffee maker
- A coffee filter (please look for the type that suits the brewer you choose)
- A nice burr coffee grinder (choose the one that suits your taste preference)
- A “gooseneck kettle” (Hot water is necessary for the best flow. You accomplish this by employing a unique pour-over kettle.)
- A water temperature controller, such as a thermometer.
- A coffee scale with grams of measurement
- A serving appliance (optional)
- Good water
Steps to Make Pour Over Coffee
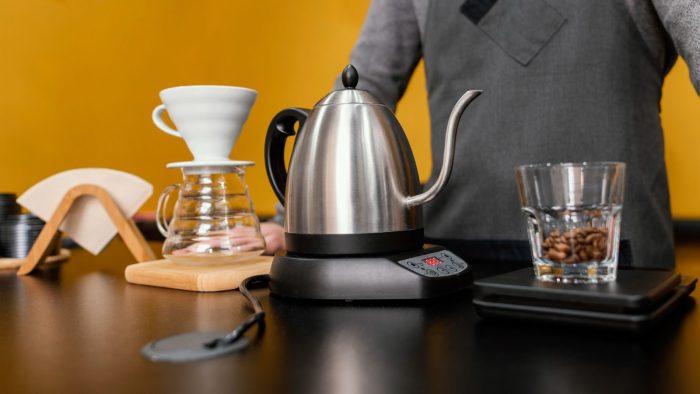
1. Boil Water
Ideally, the hot water that you use to pour over the coffee grounds should be between 195 and 205 degrees Fahrenheit. You can boil the water in a smart kettle that gives this precise temperature and just use it once you’re ready to brew your coffee.
No worries if you don’t have a thermometer or smart kettle at home. Just wait for the water to boil, then wait 30 seconds before you start pouring it over. Meanwhile, it’s important that you use quality water for your coffee because it also helps give you a well-balanced taste in your coffee.
2. Weigh Your Coffee
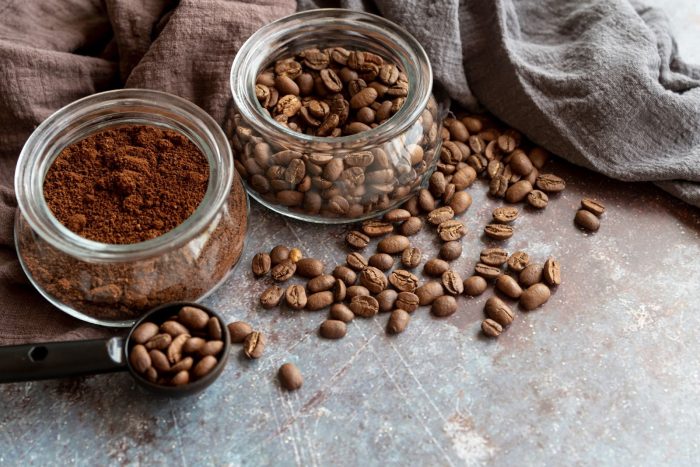
Do you desire more coffee or less? – More coffee generally gives you more flavor. That means the amount of water in coffee is the main flavor determinant.
Normally, we use 18 grams of water for every gram of coffee. So, it needs between 9 and 11 grams of coffee for each 6-ounce (171-gram) cup. However, if you ask many baristas in some cafe shops, their responses could range from 16:1 to 19:1. The reason is that they enjoy the flavor of their coffee.
The best way to know what types of flavors suit you best, we recommend you test out with various ratios and see which one you enjoy the most.
3. Rinse/Wet Your Filter
Rinsing the filter is a necessary step to avoid receiving coffee that contains an unwanted papery flavor. Simply rinse the filter with clean or warm water to get rid of the odor. To properly rinse the filter, you just need to set the brewer in the dripper, flow water in a circle around it for about five seconds (being sure to reach the edges), and then pour out the water that was in the cup or went through it.
After that, don’t forget to empty the carafe of the stinking water. Once you finish this part, you will be able to breathe in the smell of moist cardboard coming from the filter paper. Then, we believe you won’t miss this step anymore. Likewise,
4. Grind The Coffee
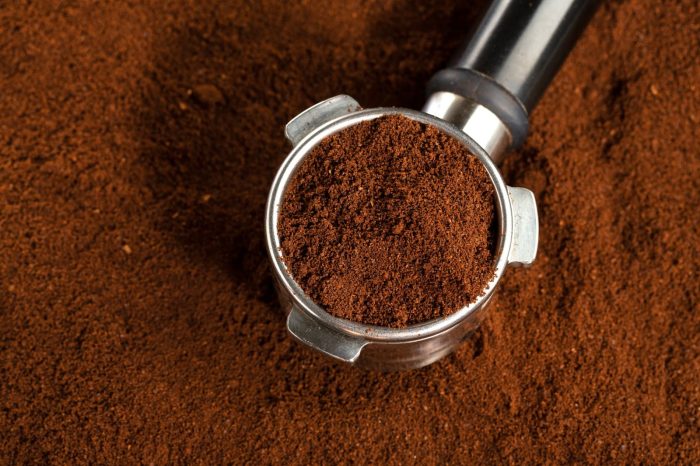
When you grind your coffee right before brewing, it gives you full control over the flavor. More flavor is delivered with a finer grind, although bitterness can also be added. While a cup with a coarser grind tastes sweeter, it may also be under-extracted, acidic, and weak. Therefore, you should observe what your preferred blend looks like.
Many professional baristas advise using a medium-fine grind, such as sand or sea salt. So, remember to test your brew in the middle of your grinder’s range. Do you want it to be softer? -Roughen it up more. Do you want it to be richer? -Finer mill it.
Now, fill the rinsed filter with your ground coffee.
5. Pour Water
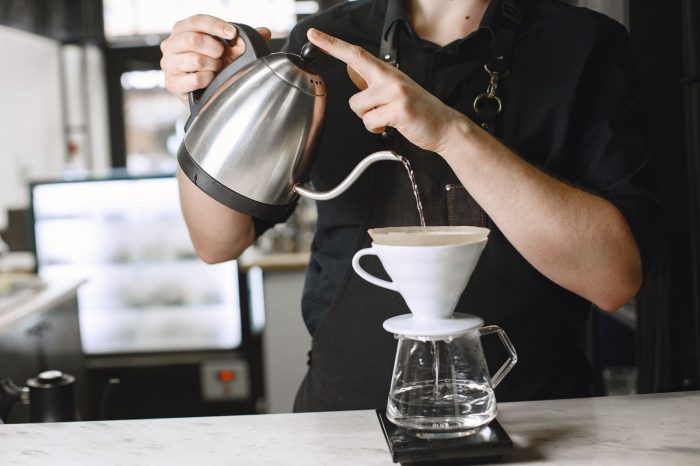
There are two stages to pouring the water. The first step is “bloom”, and the other one is “brew time”. That means you need to pour water over the coffee grounds twice, and both steps are important for your coffee’s taste.
- Bloom: Sprinkle the grounds with around 30 grams of water, and then wait for them to absorb it. The grounds will rise, bubble and swell. Normally, you need to give “bloom” 30 seconds to do its own work.
- Brewing time: Slowly pour the remaining water over the grounds. To get most of all the remaining coffee grounds, you should pour over from the middle part and work your way out in a spiraling, spreading motion. When you have added the appropriate amount of water, you can stop.
Tips to Make Delicious Pour-over Coffee
Your Grinder Is Your Secret Formula
We get through this process as coffee geeks for one reason only. It’s the taste. Let us admit the fact that we spend time choosing the best beans and even doing research, so you should spend time selecting the best type of grinder as well.
Your grinder will be crucial since it affects timing, as it does with all kinds of coffee brewing. To manage the timing, you must be capable of managing the grind. When brewing filter coffee manually, the grind size is a key component.
The larger coffee grains that are produced by a coarse grind allow the water to pass through the grains more quickly. A finer grind, when the granules are significantly smaller, has the opposite effect. They will prevent the flavor from the water from simply seeping through them and being extracted. A slight deviation will result in either over-or under-extracting the coffee..
You Shouldn’t Skip The “Bloom” Step
A crucial idea is wetness or “bloom”. So, let’s fasten your seatbelts—this is science!
The accumulation of CO2 in the grinding is grinding those wonderful coffee beans. This isn’t entirely bad, but CO2 needs to be released in order for the water to thoroughly enter the grinds. In order to release the carbon dioxide, you must bloom, or wet the coffee.
In order to make pleasant-tasting coffee, you must moisten the grounds with just enough water to prevent them from blooming, which is when carbon dioxide is released. Process this by:
- In order to completely soak the grounds, the ideal amount of water needs to be added.
- Pause for around 30 seconds to allow the carbon dioxide to escape
- The grounds are growing and expanding.
At this stage, a nice scent also emanates from the grounds. So go on and inhale this kind of lovely smell.
Consistency is the Key
Consistency is one of the most necessary steps in this process. When you master the fundamentals, it will help to avoid any errors.
For the love of all things coffee, follow these guidelines for consistency:
- Use a precise, high-quality scale.
- Make use of a premium burr grinder.
- Observe a brewing manual to the letter.
- Record everything at the start if you’re really serious about getting it right
Let’s imagine that you make a really, really good brew. Make a note of your method: Maybe you used ‘X’ cups of coffee, the water was ‘X’ degrees of temperature, and you poured for ‘X’ minutes; Note it down on paper and experiment with tiny variations to see what happens!
You Should Finish with the Cleaning Part
The least exciting part of preparing coffee is cleaning your equipment, but it is included in the guide to producing the perfect cup of coffee.
After using it, give your brewing apparatus the thorough cleaning it needs to be free of coffee oils so you may use it again. Your palate will appreciate it. After that, you may even learn how to utilize your pour-over brewing utensils from a variety of resources.
Conclusion
As you finish our pour-over coffee guide, we hope you’ll be able to experiment with new breweries and change your brew according to your mood once you’ve mastered the fundamentals as described above. Don’t forget to share your experiences in the comments below too – we will be very glad to read them.
Reference
Here’s How to Make Pour-Over Coffee By Starbucks Coffee
