Once you pour the coffee grounds or beans into a coffee maker, you will see many extremely tiny things stick there. It is normal after finishing brewing. Well, you think that it is actually coffee so that is not a big deal. Wait… It is a big NO NO to have this thought. In fact, those dirty marks are sludge, mineral, and remaining grounds which show that your coffee maker is needed to clean.
That’s not all! What was mentioned a bit earlier are the things you can spot clearly, however, there is yeast and mold hidden in the coffee maker. If you persist to brew without frequently washing the item, then what will happen? It changed the coffee taste. Those signs of dirt already became stains and affected the brewing process, resulting in bitter taste in the coffee. Do not underestimate those hardly to see bacteria because they cause allergic reactions, sometimes infections. Let’s stay healthy by properly cleaning it.
Since you are landing on this page, there are easy and simple steps to follow for cleaning any type of coffee maker. We will tell you all.
Contents
- What parts and accessories to clean after every use
- How frequently to clean out a Coffee Maker and why you should
- Tips to clean any types of Coffee Makers like an expert
- One thing to avoid using in cleaning the Coffee Maker
- Vinegar vs. Descaling Solution, which one is better
- Extra Tips to Keep Your Coffee Maker Cleaner Longer
What parts and accessories to clean after every use
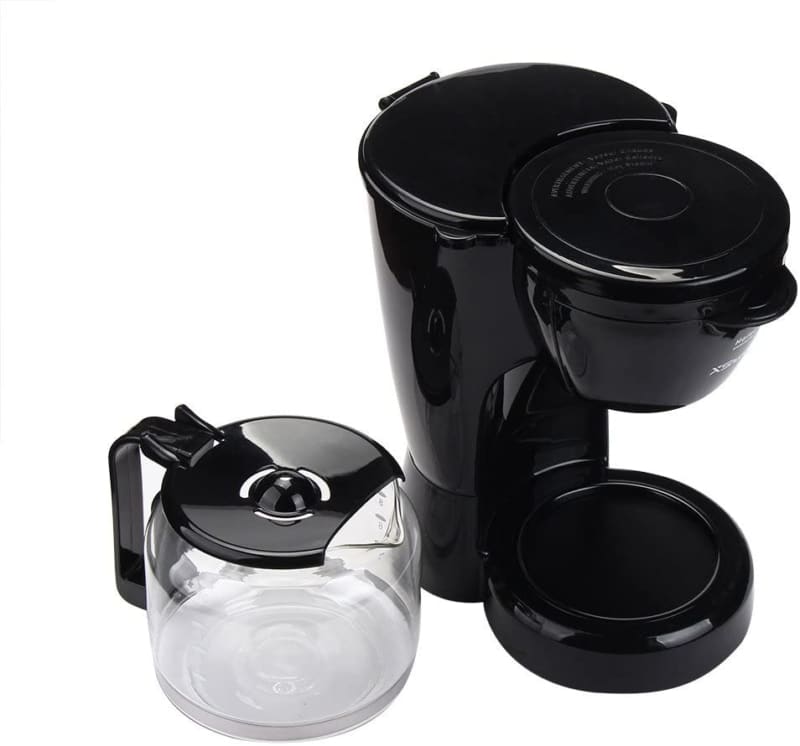
Arguably, coffee maker is one of the most used kitchen appliances. You use it to brew and drink the coffee everyday in order to boost concentration and stay refreshingly energetic throughout the day. Undoubtedly, it is also like the plates that you have to clean after using. But that does not mean you need to clean every part, right! it is exhausting! After you use it each time, make sure to clean the three parts, namely carafe, brew basket and lids. These are dishwashers safe for some models of the product. Yet, you should gently wash them everyday by hand with soap bubbles and water, explained by Carolyn Forté.
How frequently to clean out a Coffee Maker and why you should
When we said you need not to wash each accessory does not imply that you just clean the brew basket, carafe and lid. Again, you ought to remove dirt from these three parts daily. Likewise, other parts of the coffee maker must be cleaned every month or once in two to three months.
Here’s the reason why you are recommended to clean it often. Germs such as mold and yeast sleep everywhere inside the coffee maker. The question is what makes them live at that place? Kelly Reynolds, who studies household germs at the University of Arizona, proved that they develop their existence in a moist, warm and quiet environment in which this condition occurs when you finish brewing the coffee. Additionally, one 2011 Household Germ Study by NSF International showed that 50% of yeast and mold live in the coffee reservoir of the coffee maker. Surprisingly, the coffee reservoirs in the kitchen contain higher bacteria than door handles and seats in the bathroom.
For people’s health, there is a limitation that mold and bacteria will not affect us. In spite of our strong body systems, Reynolds, a germ specialist said, “at some point they’ll grow to levels high enough to cause sickness.”
Inside the coffee maker, a lot of enclosed spaces such as nooks and crannies are clogged with debris (the waste of the grounds and dust getting in through the air). Similarly, you can spot them with naked eyes in the classic coffee makers. So aside from the parts that should be washed each day, you must let the water reservoir and coffee machine stay hygienic and new. Clean it on a regular basis!
Clean monthly! You should do so if you live in the area where there is hard water (water consists of heavy mineral content) available for utilization.
Wash every two to three months! If you reside in the soft water areas, you are allowed to extract those build-up of minerals four to six times a year.
Those minerals including dissolved calcium, magnesium, and limestone slow down the brewing process which is hard for your coffee machine to drip. When they build up inside it over time and you don’t clean regularly, your coffee will get a strange taste.
With a useful and effective method, there is a secret ingredient to take this gunk away from your precious coffee maker. And, it is vinegar. This special liquid definitely sanitizes the mineral from tap water that you use for making a cup of coffee, said Carolyn Forté, a director of the Home Appliances and Cleaning Products Lab at the Good Housekeeping Research Institute.
Let’s see the instructions below in a minute regarding the ways to wash the machine properly with vinegar. Learn comprehensively and follow correctly, you will get pleasant caffeinated taste and not fall sick.
The main components of any Coffee Maker that should be cleaned
- The exterior
- Reservoir
- Carafe
- Lid
- Filter or Filter basket
- Drip plate or tray
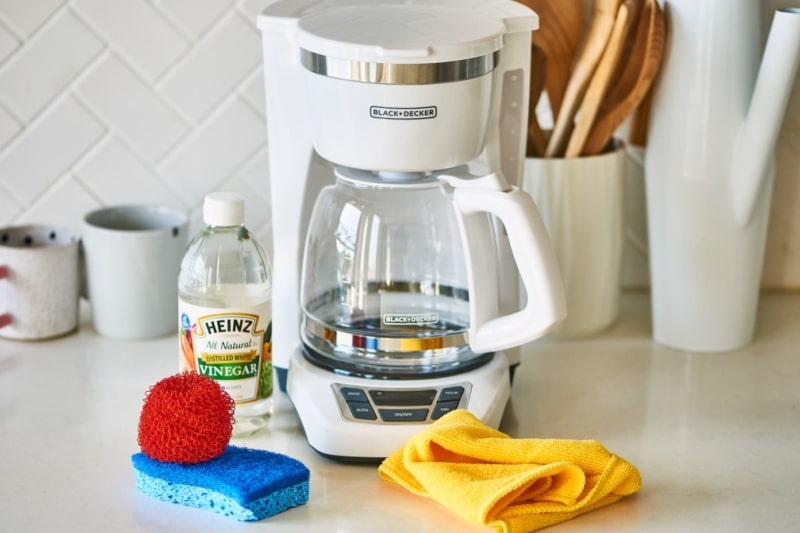
The objects you should prepare before cleaning
- Damp towel
- Dry cloth
- White distilled vinegar
- Dishwashing liquid or Soap
- Water (mostly warm)
- Carafe (or empty mug)
- Soft sponge
- Dishwasher (but it is optional)
Tips to clean any types of Coffee Makers like an expert
These cleaning tips are gathered from several experts and will ensure no bitter-tasting coffee in your cup later on. You just need to comply with the following rules. Thanks to Ms. Carolyn Forté, an expert in consumer products from Good Housekeeping Institute, Mr.Jamie Hickey, a barista and founder of Coffee Semantics, and Mr. Dean Davies, a cleaning specialist at Fantastic Services for providing coffee maker cleaning hacks.
Instruction 1: Clean the brew basket and filter with dishwashing liquid daily
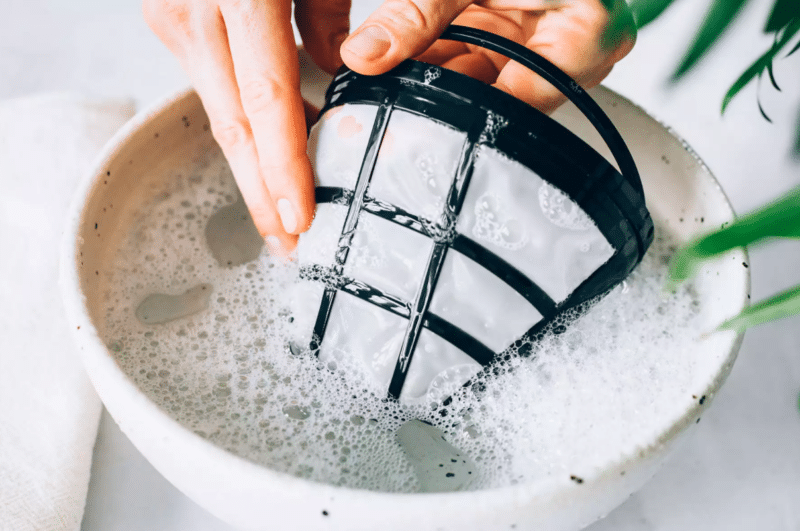
The brew basket and permanent filter are detachable parts. A little note here, if you have a paper filter instead of a permanent filter, you should discard it. Take them out from the coffee machine and soak them for 15 minutes and then rinse out everything. Those must be soaked in the water that is warm and covered in soap bubbles. Doing this will help get rid of coffee grounds, and oil residue. Nonetheless, some brew baskets and filters are safe for dishwashing or cleaning machines. If your hands are allergic to detergent you can put the pieces in the dishwasher by using the heated water to wash, it will kill bacteria.
Steps to do the first instruction:
- Remove brew basket and filter from the coffee machine
- Dispose of any coffee grounds by dumping them in the trash can, not down the sink.
- Run hot water in the sink or dishwashing container
- Add dish detergent into warm water in suitable amount, use the brand that has oil removal formula
- Soak them for 15 minutes, then use sponge or soft cloth to wash and rinse them out with plain water
- Wipe with towel and set to dry
A slight advice from Ms. Carolyn, “Don’t forget to wipe down the outside and the warming plate where spills can burn on.” She further added that after each use of the machine, let the moisture inside the coffee’s water reservoir dry up completely by lifting its lid cover.
Instruction 2: Wash Carafe or pot daily and make it sparkle like a new one
These many steps of the first instruction can also be followed to cleanse with classic coffee makers such as moka pot coffee makers, and french press coffee makers. But for the pot, you just normally wash it with your hand by using a sponge or bottle brush to scrub. The pot will be much more efficient and not complicated for you if you possess the classic coffee maker type.
For the carafe of the coffee machine, its material type is glass. Be careful while holding it.
You are now thinking of what dirt remover you should use to wash the carafe so that it looks new all the time. Alright, we mentioned dishwashing liquid. How about vinegar? But what if you don’t have vinegar at home for the moment? Or, you don’t want your coffee maker stink of vinegar? Absolutely! We have got another way to solve the problem. You still can wash with soap bubbles, warm water as well as a bit of rice.
Steps to do the second instruction:
- Empty and rinse the carafe
- Pour mildly hot water, dishwashing detergent in the carafe, add a little rice too if feasible
- Swirl this mixture by hand first
- Wash it by using a sponge in order to get rid of the dirt and stain entirely
- Rinse it out well
- Leave it to dry or wipe with dry cloth
Instruction 3: Descale the machine with vinegar every month
The process of using vinegar to clean can remove calcium minerals that build up in the carafe and machine’s inner water reservoir or water chamber. To improve a smooth dripping, you need white distilled vinegar to sanitize the coffee maker. But this vinegar trick can be done only if your coffee maker’s manufacturer recommends. Some brands may not permit their consumers to use it in order to protect the metal parts. So get back to the manual of your machine first before starting to clean. Follow this procedure, however, if you have no coffee maker manual.
Steps to clean the water reservoir with vinegar:
- Turn off, unplug the coffee maker first
- Take the carafe out to clear all the grounds contents
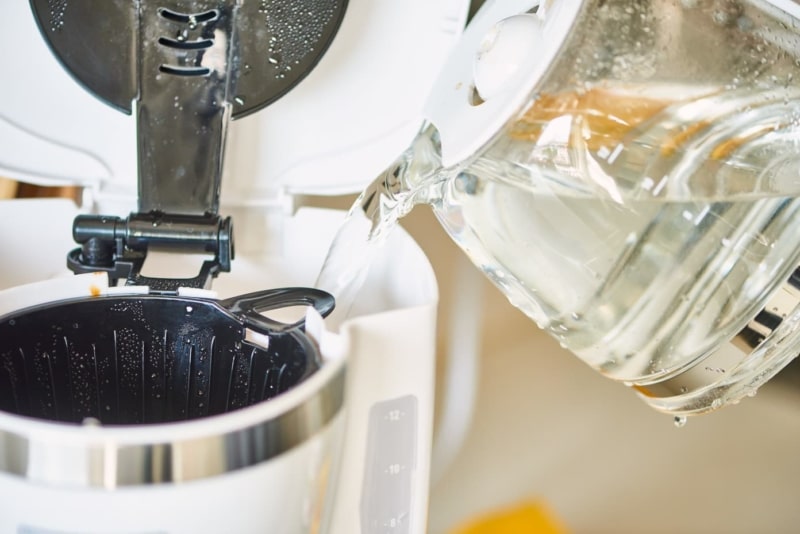
- Fill the reservoir with half vinegar and half water (It is easier to make it done in the reservoir if yours has the water level to measure. You can use anything to mix the solution but make sure water-vinegar is proportionate.)
- Put a filter in the empty brew basket
- Place the carafe under the drip
- Turn on and run the coffee maker by a half drip or brew cycle (keep half for another round)
- Shut off the machine again and let it stand for 30 minutes to 1 hour
- Turn it back on to finish brewing the remaining vinegar
- Remove all those liquids from the carafe
- Clean the filter and put it back in the basket then fill in the plain water again
- Run another full brew cycle and rinse it out
- Do step number 9, 10, 11 here one again or multiple times to release the vinegar odor, (remember to let your machine cool down between the brews)
- Put the carafe upside down until completely dry and reassemble the coffee maker
- Wipe the exterior and interior with a soft towel
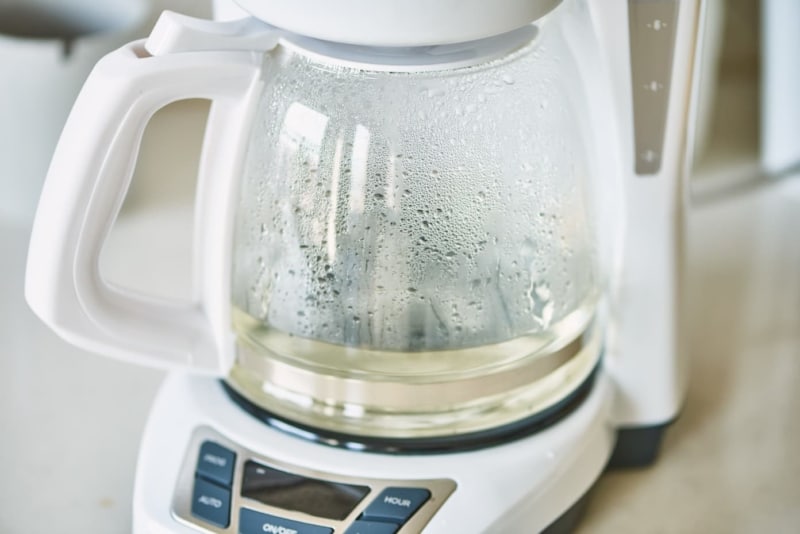
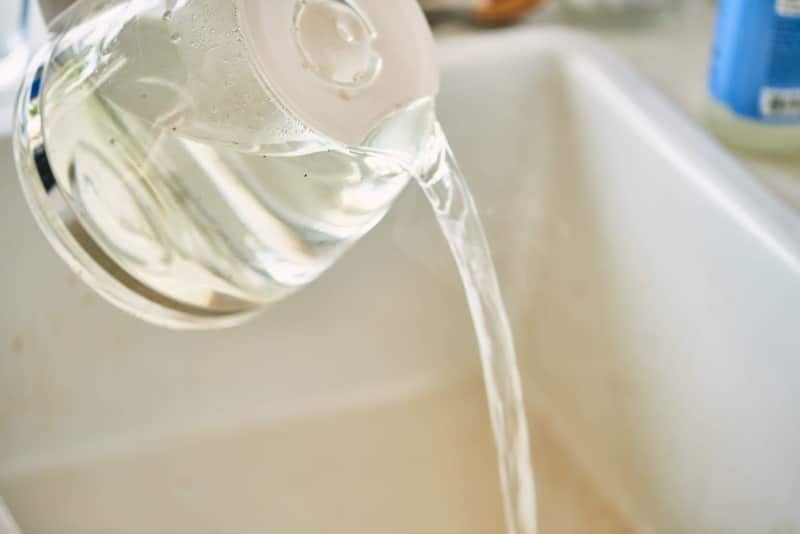
Despite all the accessories, the filter must be paid attention to. If you use the paper filter, you have to replace another one after brewing. But for the permanent filter, you can just wash it away thoroughly before positioning it in the basket.
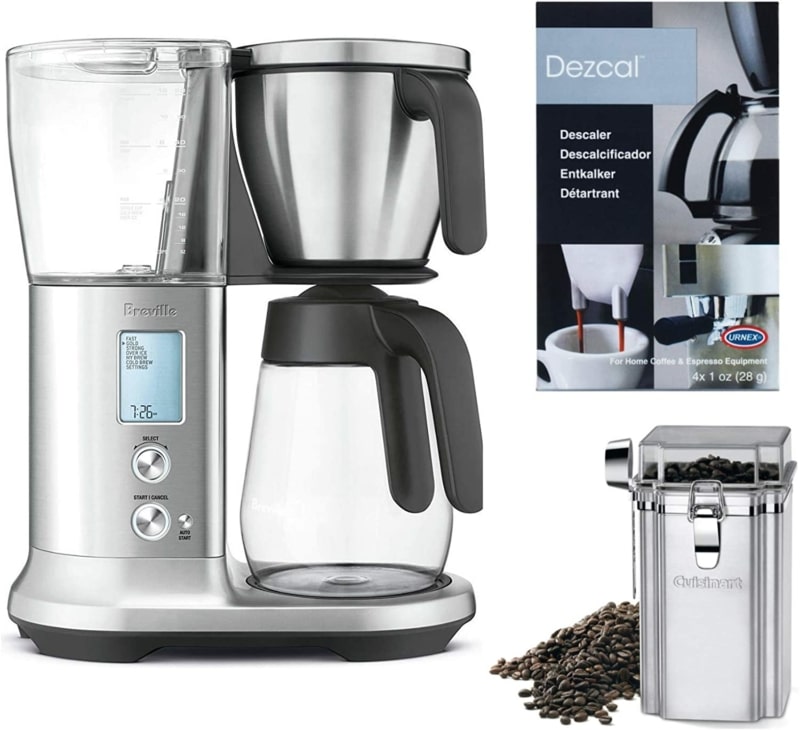
In a hopeless light, your coffee machine’s manufacturer does not allow the use of vinegar to clean. You can purchase the commercial descaler and it works equally well like vinegar. Along the same line, the cleaning hacks are not different from the 14 steps above, just substitute the vinegar for the commercial descaler.
One thing to avoid using in cleaning the Coffee Maker
There are different types of sponge so please do not use metal sponges. According to Abe Navas, works as the general manager for a house cleaning service called Emily’s Maids, said a metal sponge scratches or ruins the coffee maker. He detailed further that these washing tools, sometimes consisting of plastic rings, can damage the original feature of the coffee machine’s interior. That’s why we suggested soft kinds cleaning tools, for example, soft sponge.
Vinegar vs. Descaling Solution, which one is better
Two cleaning professionals are acceptable for decalcifying the coffee machine but you can decide to use which method later on after seeing some pros and cons.
As you read the instructions, the process of descaling has no difference. If comparing the price and the sale in the market, vinegar is readily available and more affordable than descaling solution. However, the following two reasons answer the question that descaler is a better choice.
The first reason is that descaler is specifically formulated to be the minerals’ remover from your coffee pot. Moreover, the descaling solution can ensure the coffee maker works dependably.
Another reason is that vinegar is, most of the models, not suggested by the manufacturer so if your coffee machine runs error and has some damages, they probably will not honor a warranty claim.
Extra Tips to Keep Your Coffee Maker Cleaner Longer
- You actually can prevent descaling monthly and do it every three-month instead. So our first tip is brewing coffee with demineralized, spring or bottled water instead of tap water.
- Please use the empty mug to fill the water reservoir during the descaling process. But if you would like to place a carafe for filling it, make sure that you clean that glass container with hot, sudsy water every time you use it.
- Mold, yeast, or bacteria will appear whenever they sense a damp environment. Thus, always wipe the coffee maker and extract used grounds. Do not leave the machine wet and warm for a long period of time.
- The suppliers of the coffee maker already took an experiment thoroughly regarding cleaning. They also offer detailed instructions. So an easy way is to follow the manufacturer’s manual on how to eliminate mold and oily residue.
Bottom Line
Clean, clear bacteria, clap hands for descaling the coffee maker! Voilà, the taste of coffee now is delicious as the first time you purchased the machine.
References
- Your Coffee Maker Is Full Of Mold. Here’s How To Clean It | Huff Post | Suzy Strutner
- How to Clean a Coffee Maker, According to Cleaning Experts | Good House Keeping | Lauren Piro & Lauren Smith McDonough
- Coffee Pot Maintenance Vinegar vs Descaler | Molly Maid
- 6 Mistakes You’re Making When Cleaning Your Coffee Machine That Affect the Quality of Your Joe | Well+Good | Isadora Baum
- How to Clean a Coffee Maker | The Spruce | Mariette Mifflin


